📝

Waiting List

Manage the clinic waiting list with priority levels, reordering, and patient notifications

3 min read

Overview

The Waiting List is a separate feature from the Queue Board, designed for patients who want to be seen but no immediate slot is available. It supports three priority levels (Normal, Urgent, VIP), manual reordering, and the ability to notify patients via SMS/push when their turn approaches. This is ideal for managing overflow patients or coordinating cancellation-based slot filling.

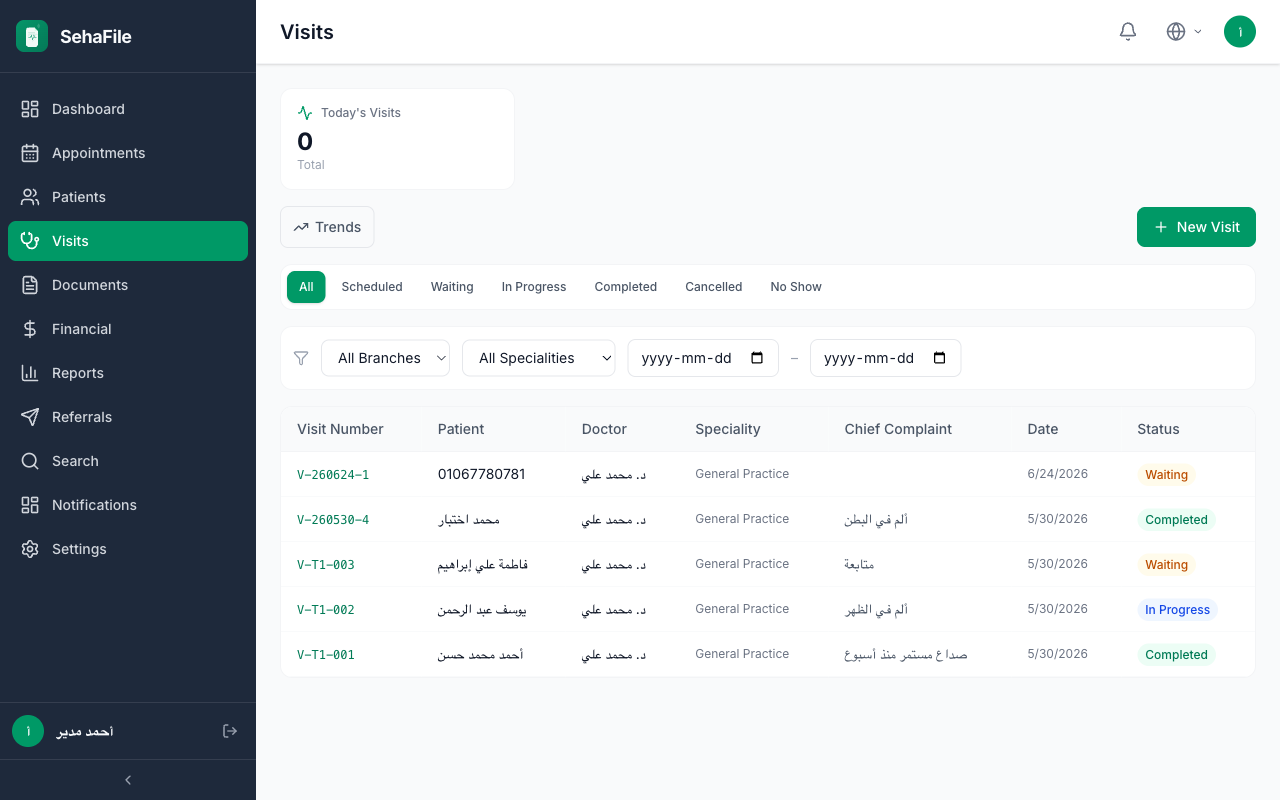
Waiting List page showing patient entries with priority badges, position numbers, and Notify buttons

Accessing the Waiting List

  1. Navigate to Waiting List — From the sidebar, click Visits > Waiting List. This opens /visits/waiting-list.

Adding a Patient to the Waiting List

  1. Click “+ Add to Waiting List” — The button at the top of the page opens the add form.
  2. Enter Patient Details:
    • Patient — Search and select an existing patient, or enter a patient name and phone number for new contacts
    • Doctor — Select the preferred doctor (optional)
    • Preferred Date — When the patient would like to be seen
    • Preferred Time — Morning, afternoon, or specific time
    • Reason — Why they need to be seen
    • Priority — Choose Normal, Urgent, or VIP
    • Notes — Any additional context
  3. Submit — The patient is added to the list with a position number and status “waiting.”

Managing the Waiting List

Priority Levels

  • Normal — Standard queue position, no special handling
  • Urgent — Medical urgency, should be seen as soon as a slot opens
  • VIP — Priority service patients, moved to the front of the list

Reordering

Reorder patients by using the reorder function. The system calls POST /visits/waiting-list/reorder with an array of IDs in the desired order. Drag handles or up/down arrows allow manual position changes.

Notifying Patients

When a slot opens up for a waiting patient:

  1. Click the “Notify” button on their entry
  2. The system sends an SMS/push notification informing them a slot is available
  3. Status changes from “waiting” to “notified”
  4. If the patient confirms, you can convert them to a scheduled appointment (status becomes “scheduled”)

Statuses

  • waiting — Patient is on the list, not yet contacted
  • notified — Patient has been notified of availability
  • scheduled — Patient confirmed and appointment was booked
  • cancelled — Patient cancelled their waiting list entry
Tip: Use the Waiting List for patients who call requesting a specific doctor who is fully booked. When a cancellation opens a slot, notify the waiting patient immediately.
Tip: Review the Waiting List at the start of each day. If same-day cancellations occur, you can quickly fill the slot from the list.
Warning: Notifying a patient does not automatically book them an appointment. You must still create the appointment manually after they confirm availability.

FAQ

How many patients can be on the waiting list?

There is no system limit. However, we recommend keeping the list manageable (under 50 entries) to ensure timely follow-up.

Can I delete a waiting list entry?

Yes. Click the delete button on any entry to remove it. This calls DELETE /visits/waiting-list/:id.

Does the patient see their position?

Patients receive notifications when notified but do not have real-time visibility of their position on the list.

Was this article helpful?